FieldServer - How do I know the IP Address of the FieldServer Device
Determining the IP address of a FieldServer device is a common task during commissioning, troubleshooting, or when integrating the device into a building automation or industrial control network. In many cases, the FieldServer will be detected automatically by configuration tools or network discovery utilities. However, if automatic detection does not occur, the IP address can still be identified using standard network analysis tools.
This procedure applies to FieldServer gateway devices when their IP address is unknown and direct access is not yet available. For an overview of FieldServer hardware and gateway options, see our FieldServer Devices product page.
When This Method Is Required
This approach is typically used when a FieldServer device is powered on but cannot be reached through expected network settings, and its configured IP address is unknown. This can occur after initial installation, after network changes, or when a device has been moved between sites.
The method described below uses Wireshark, a widely used network protocol analyzer, to observe network traffic generated by the FieldServer during startup. FieldServer devices announce their presence on the network using standard Ethernet mechanisms, which can be captured and analyzed.
Overview of the Detection Process
When a FieldServer powers up, it typically sends a gratuitous ARP (Address Resolution Protocol) message. This message advertises the device’s IP address on the local network and allows other devices to update their ARP tables. By capturing this message, the FieldServer’s IP address can be identified even if no prior configuration information is available.
Wireshark can be used to capture and filter these ARP messages, making it possible to locate the IP address associated with the FieldServer’s MAC address.
Step-by-Step Procedure Using Wireshark
Follow the steps below to determine the IP address of a FieldServer device using Wireshark.
- Power on the FieldServer device and start a packet capture in Wireshark on the appropriate network interface.
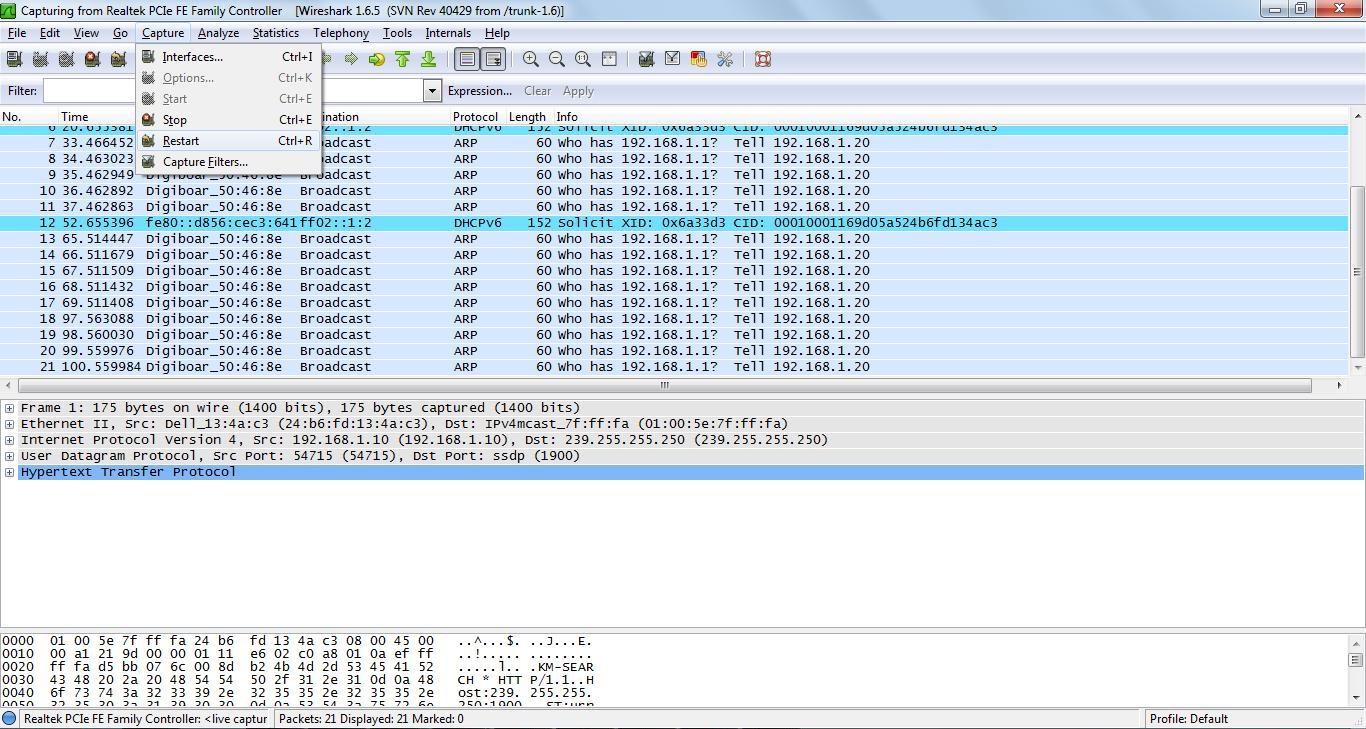
- Once packets begin appearing regularly, go to the Capture menu in Wireshark and select Restart, as shown below.
- After restarting the capture, the packet list will clear and begin populating again.
- Power off the FieldServer device, then power it back on while the Wireshark capture is running.
- Wait approximately 30 seconds, then look for a packet in the Source column containing a FieldServer-related MAC identifier such as Digiboar_50:46:8e.
- In the Info column, identify a message similar to “Gratuitous ARP for 192.168.1.20 (Request)”.
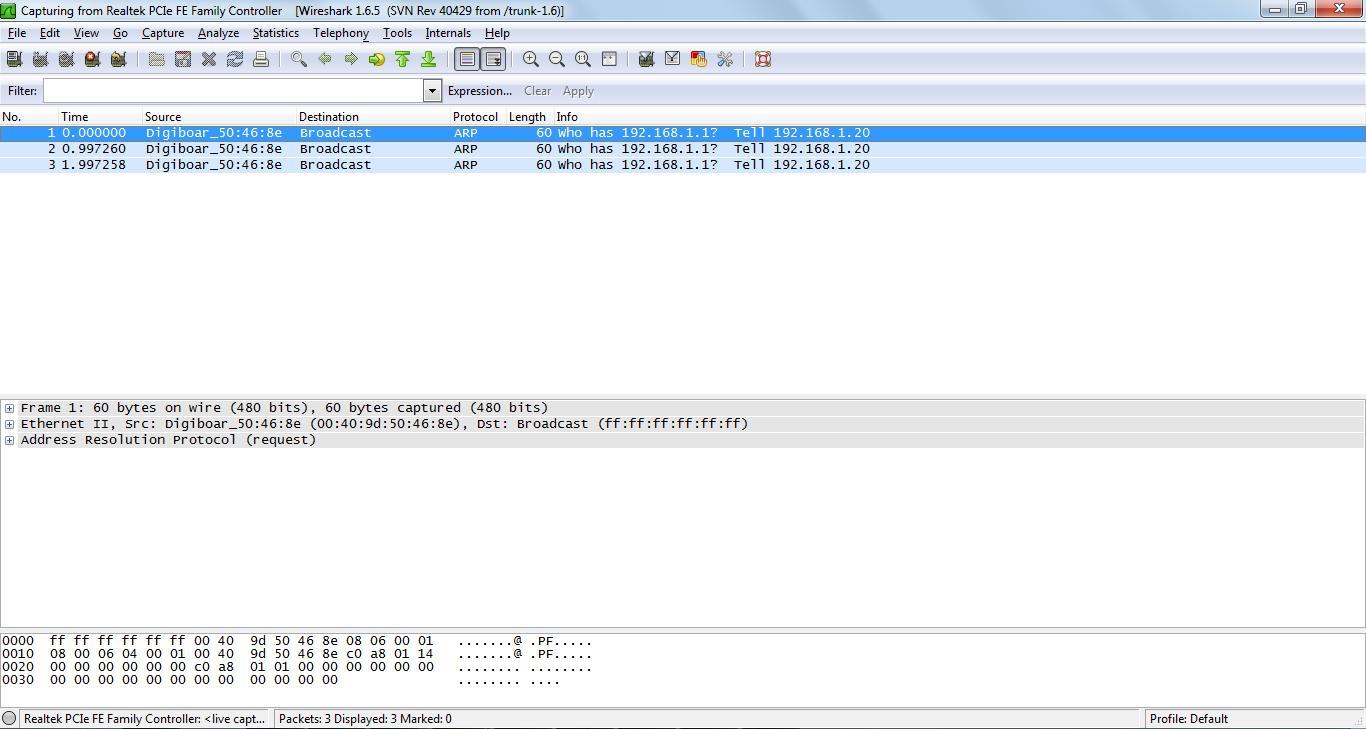
The IP address shown in this message (for example, 192.168.1.20) is the IP address currently assigned to the FieldServer device.
Interpreting the Results
The IP address identified through the gratuitous ARP message will vary depending on the network and configuration. Once the address is known, the FieldServer can be accessed using configuration software, web interfaces, or other management tools appropriate for the device model.
If no ARP message appears, verify that the correct network interface is selected in Wireshark and that the FieldServer is connected to the same Ethernet segment as the capture device.
FAQ
Why does the FieldServer send a gratuitous ARP?
Gratuitous ARP messages announce the device’s IP address on the network and help prevent address conflicts.
Do I need special FieldServer software to find the IP address?
No. This method uses Wireshark, a standard network analysis tool.
Will this work on any FieldServer model?
Yes. This method relies on standard Ethernet behavior and applies broadly to FieldServer devices.