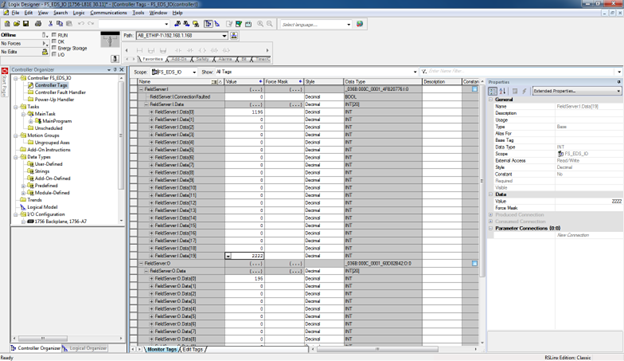
Simple Steps to Install FieldServer EDS files on a Rockwell PLC
 Simple Steps To Install Fieldserver Eds Files On A Rockwell Plc.pdf. CONTACT
US if you have any questions
About This Guide
This guide provides step-by-step instructions on installing FieldServer EDS files on an Ethernet IP Rockwell PLC. It covers loading the fserver.eds file into RSLogix5000 or Studio5000, including the "FieldServer EIP Adapter" module in the project's Ethernet modules, adjusting tag formats and sizes, and setting the data production frequency.
By following these instructions, users can seamlessly integrate the FieldServer with their Rockwell PLC for efficient data exchange.
First thing first, here is the link to the FieldServer EDS zip Files
Instructions on installing FieldServer EDS files on a Rockwell PLC
Now, let's get started:
Step 1: Load fserver.eds to RSlogix5000 or Studio5000. To do that:
- Put fserver.eds anywhere on the disk!
- Launch Studio5000.
- Go to Tools-> EDS Hardware Installation Tool.
- Follow the instruction and browse to fserver.eds and complete the wizward successfully.
Step 2: Include "FieldServer EIP Adapter" module to the project's Ethernet modules.
- Right-click on "ethernet" then click on New Module.
- Select "FieldServer EIP Adapter" and press Create!
- On the General tab, specify the module name (any string) and correct IP address of FieldServer and press the "Change" button.
- To change the format – click on SINT and choose the correct format.
- To change the size, click on size number e.g. 20 in this example.
- Click OK when done.
- Press OK, and it will create FieldServer module under the Ethernet tree.
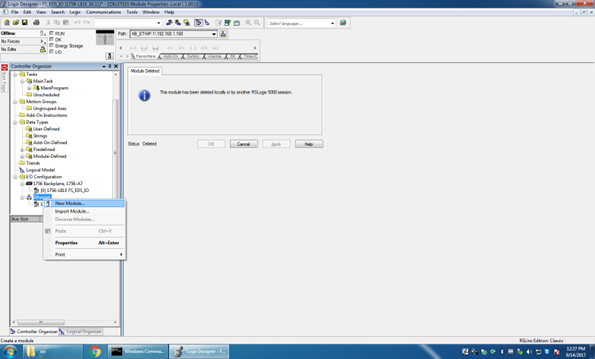
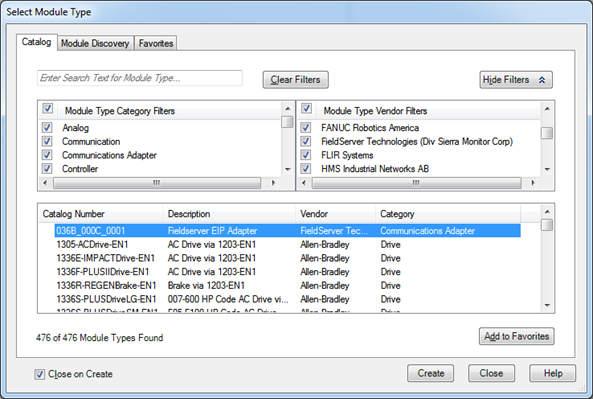
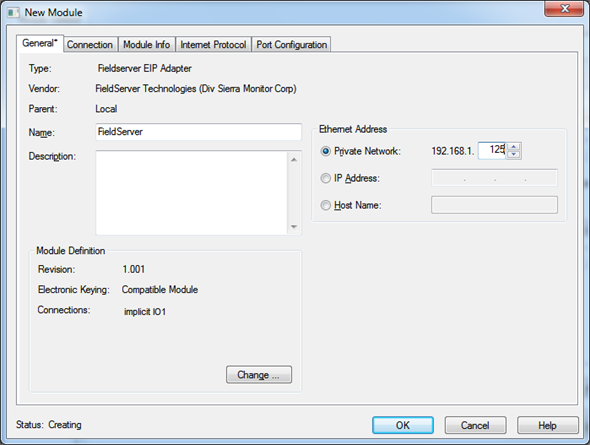
By default, Studio5000 creates tags of SINT format, we need to match size and format with that of FieldServer configuration.
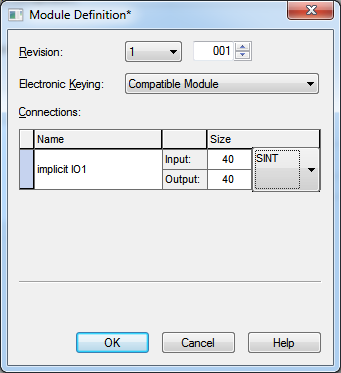
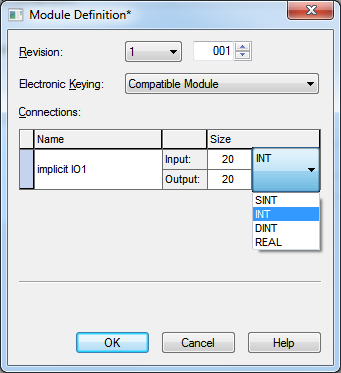
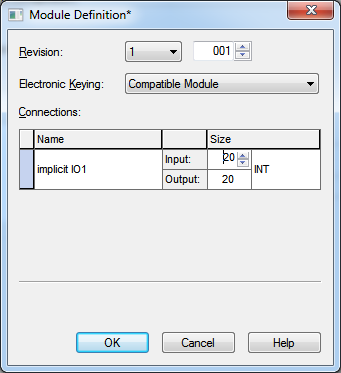
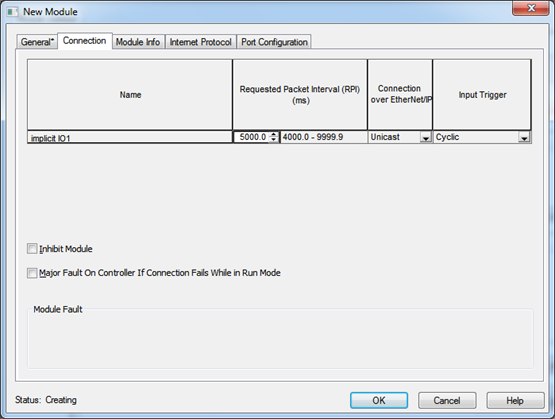
To adjust how often data should get produced, select the connection tab, and adjust RPI.
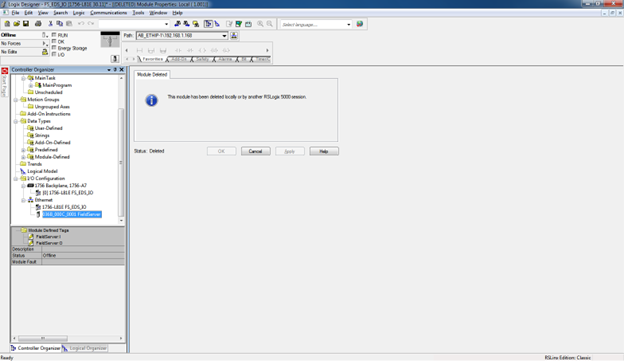
The studio will create corresponding tags as well.
