When you want to use the Visual Test Shell (VTS) for the first time, browse to the directory where you installed the application.
Double-click on the VTS.exe to start the application.
You will notice that two files will be generated:
1) vts3.cfg – the default workspace, which contains all of the VTS configuration data. (Devices, Ports, Names, etc.)
2) vts3.vpk – the default log file, which contains the packet data that is captured while running VTS.
These two files can be used to share sessions with other users and can be used to save specific sessions.
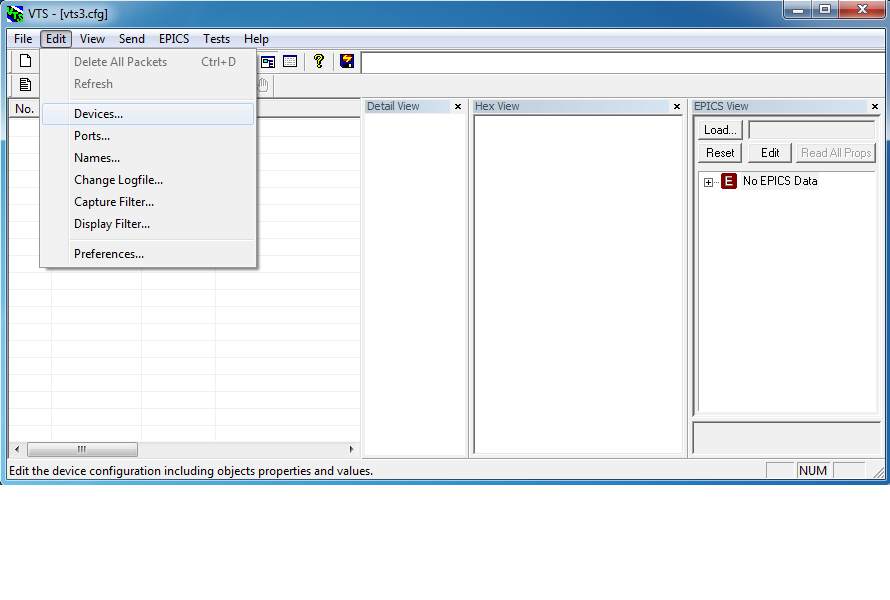
After starting the application you will see this screen:
Here is a brief description of the Menus and their contents:
– File: In this menu you can Create and Open Scripts, Create, Save, and Switch workspaces, Print, Export, and Exit
– Edit: In this menu you can create and edit Devices, Ports, Names, change the Logfile, and set Preferences
– View: The view menu controls the different viewing windows of the applications. This includes the Detail View, Hex View and EPICS View.
– Send: The send menu is where you can send specific messages to created Devices or to devices that are on the network.
– EPICS: This menu is where you can load EPICS files
– Tests: The test menu is where you can back up or test for inconsistencies
– Help: Contains information about VTS
This is just a brief description of what you can do in VTS. Future articles will delve into these options more and provide instructions on how to accomplish various tasks.

