Discover a LonWorks Device, Find the Neuron ID, and obtain XIF files
Integration Solutions
Chipkin has integration solutions for almost every situation. We specialize in network protocol communications and have over 20+ years of experience. Click for more information:
LonWorks is a communication protocol widely used in building automation and control systems that enables devices from different manufacturers to communicate with each other on a common network. Each device in a LonWorks network has a unique identifier called a Node ID, which is a 48-bit value consisting of a manufacturer ID and a device ID. The Node ID is used to address and communicate with the device on the network. LonWorks devices can be sensors, actuators, controllers, or other types of devices used in building automation and control applications, such as HVAC systems, lighting systems, and security systems.
To find the Node ID of a LonWorks device, you will need a LonWorks network management tool, such as LonMaker or OpenLDV 4.0 Network Driver for Windows. These tools can be used to discover and configure LonWorks devices on the network.
A Neuron ID is a unique address assigned to an individual Neuron processor within a LonWorks device. LonWorks devices may have multiple Neuron IDs if they contain multiple Neuron processors, each with its own unique address. Neuron IDs are used for communication between Neuron processors within a device. See links below for LonWorks Support:
Finding the Neuron ID of a LonWorks Device:
Here are the general steps for finding the Neuron ID of a LonWorks device.
Assumptions:
- 1. LDV4 (the USB device drivers) is installed from https://www.echelon.com/software-downloads?ele=153-0411-01A.
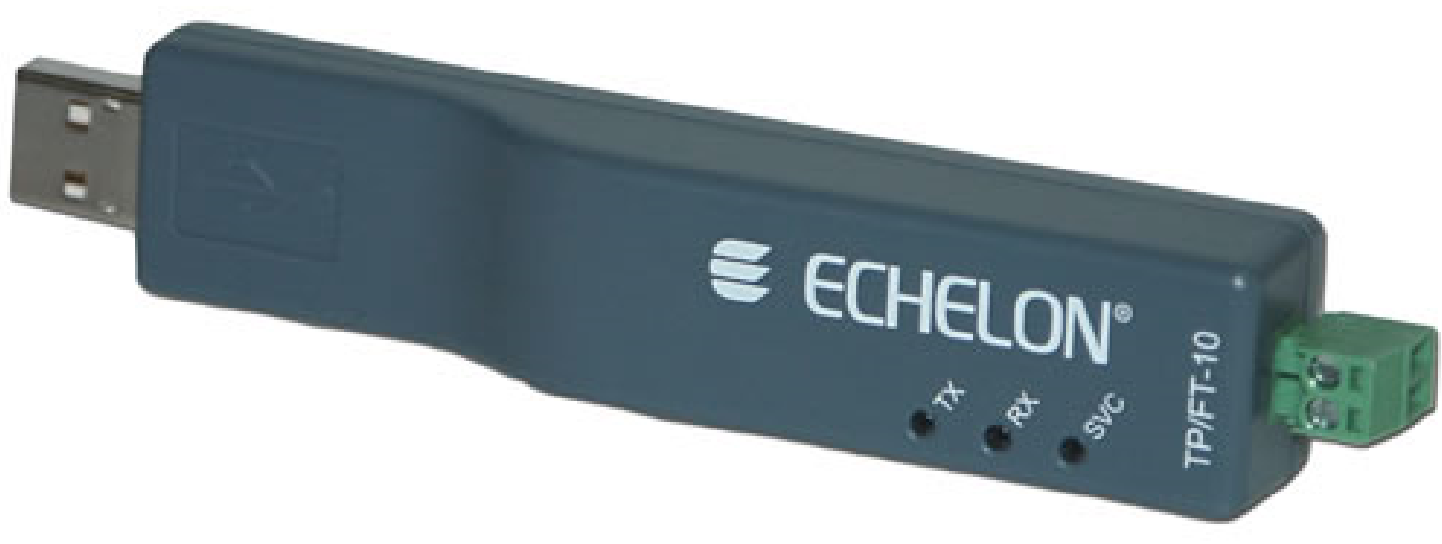
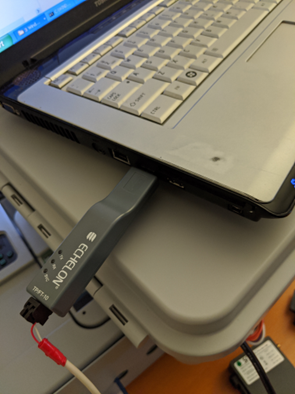
- 2. You have a USB to FT10 adapter called U10 u10/U20 USB Network Interface
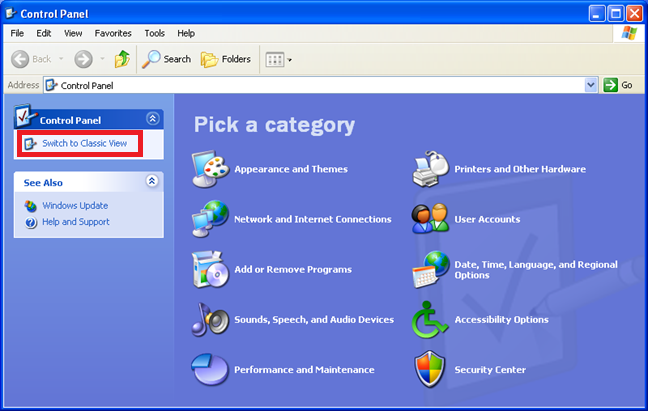
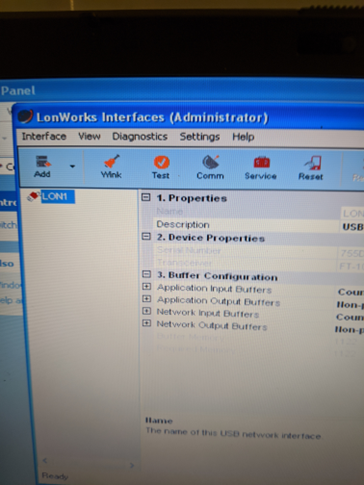
- Open Control Panel Change to Classic View.
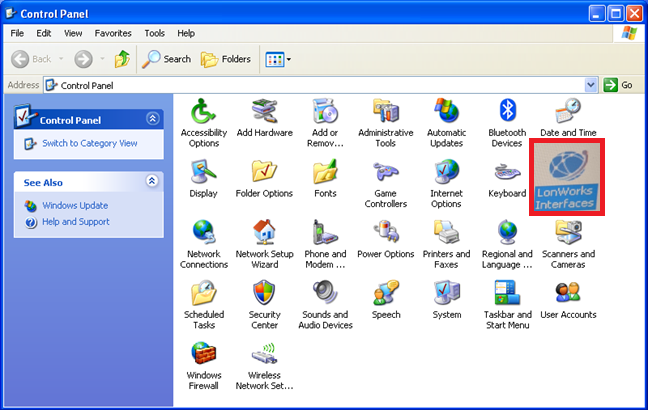
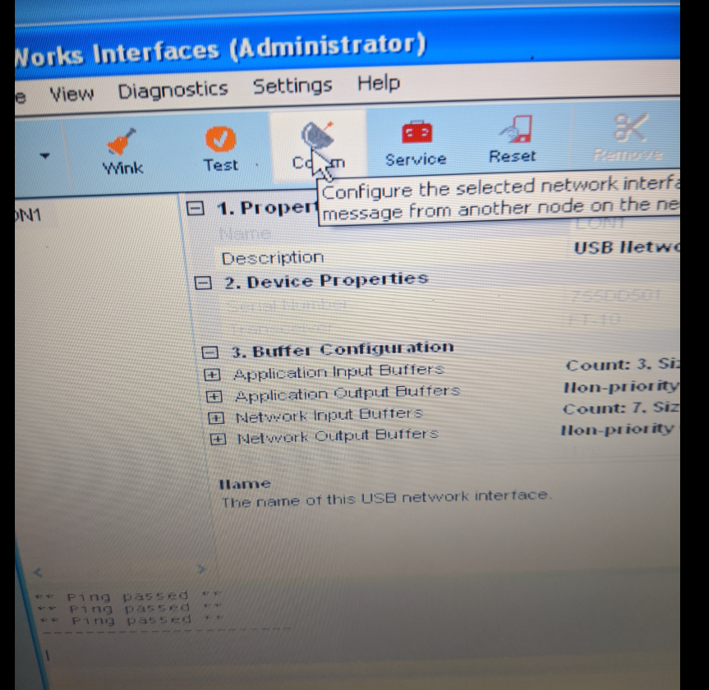
- In Classic View – Open the 'Lonworks Interfaces' Right-click on the icon – select OPEN.
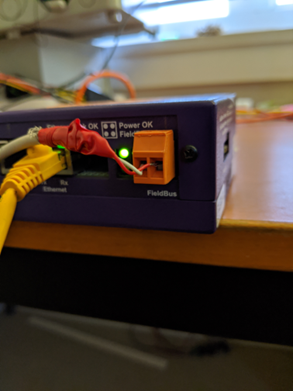
- Connect the adapter to the device using a suitable twisted pair (has to be twisted pair). Polarity is not important.
- This is the device End of the cable.
- Start Communications
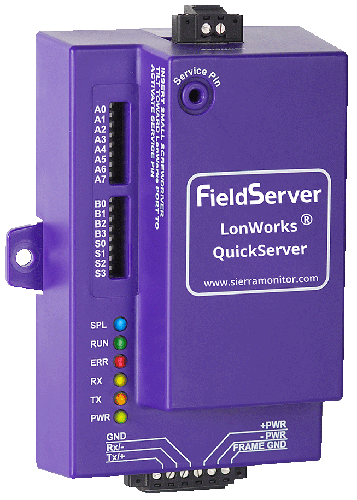
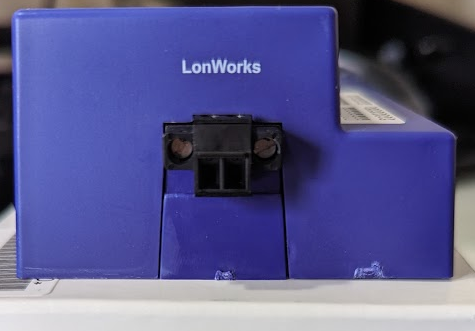
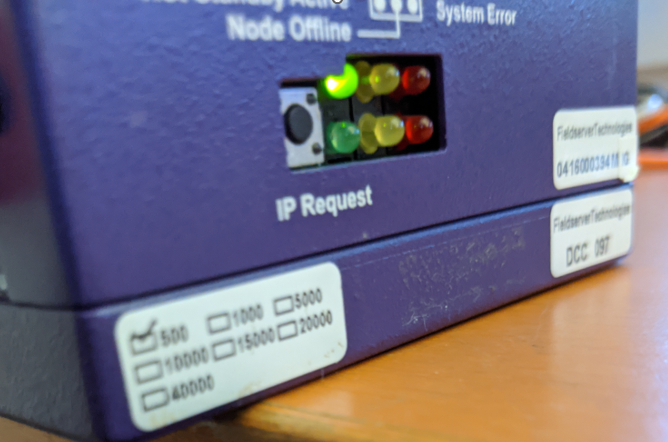
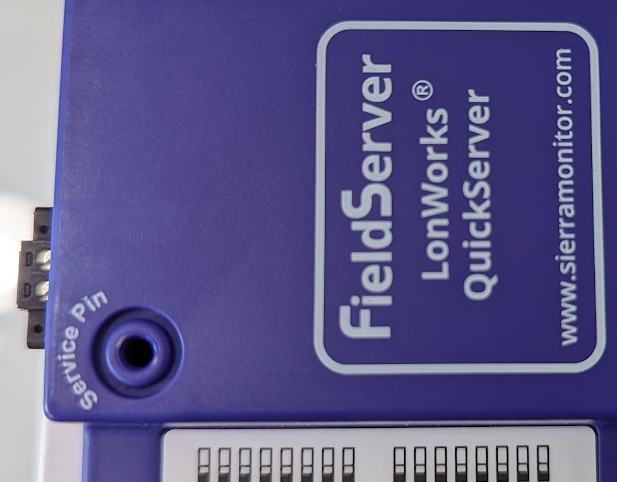
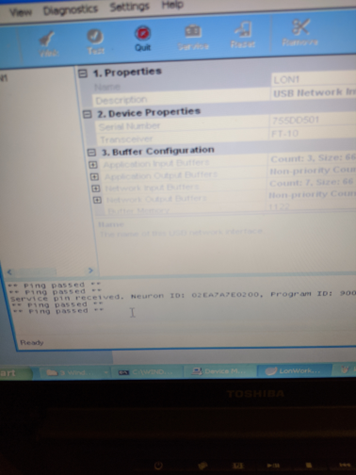
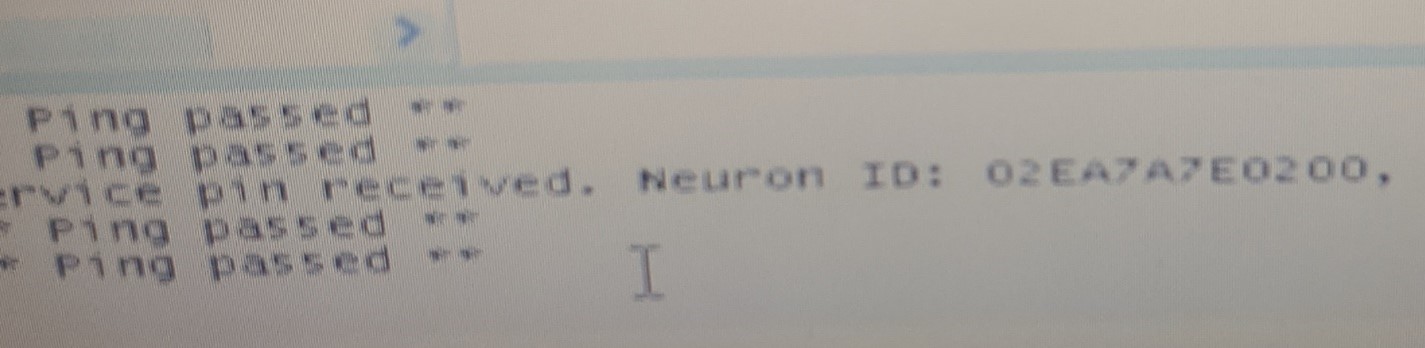
- Push the LonWorks Service button on the device. This tells the device to announce itself.

Using NodeUtil to discover Lonworks devices and obtain XIF files and more:
Here are the general Using NodeUtil to discover Lonworks devices and obtain XIF files and more.
Assumptions:
- 1. Assumes you have NodeUtil on your computer
- 2. Assumes LDV4 (the USB device drivers) is installed from https://www.echelon.com/software-downloads?ele=153-0411-01A.
- 3. You have a USB to FT10 adapter called U10 Echelon U10/U20 USB Network Interface
- Open Control Panel Change to Classic View.
- In Classic View – Open the 'Lonworks Interfaces' - Right-click on the icon – select OPEN.
- Connect the adapter to the device using a suitable twisted pair (has to be twisted pair). Polarity is not important.
- This is the device End of the cable.
- Note the 'name' of the USB-to-Lonworks adapter. You will need it for Nodeutil. Do not assume it is LON1.
Copy the Nodeutil files to the correct folders on your laptop
- Make a folder called c:\temp
- Make a folder called c:\temp\nodeutil182
- Copy the nodeutil182.zip (or rar) file to that folder
- Unzip the files.
- Make a folder called c:\temp\nodeutil221
- Copy the nodeutil221.zip (or rar) file to that folder
- 7Unzip the files
- Start a CMD prompt window
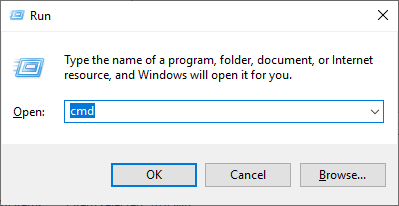
- Hold down the 'Windows' key and push the 'R' key
- You get the dialog below. Type CMD and click OK
- CD c:\temp\nodeutil221 Press Enter
- Nodutil Press Enter
The prompt will change, the node util menu will scroll across the screen Continue onto the next step
Run Nodutil with the -D option.
- Nodeutil -DLON2 Press Enter
- Or
- Nodeutil -DLON1 Press Enter
How to gather relevant information to build a LonWorks configuration:
Discover
Start -> Run
Type:
- CMD Press Enter
Another way of doing this is to hold down the windows key and push R. You get a black window with a DOS prompt. - Cd\temp\NodeUtil182 Press Enter. (If the folder does not exit then make one). You get a prompt that says c:\temp\nodeutil182.
Copy nodeutil and the DLL into this folder.
Type:
- NodeUtil Press Enter. You get a Menu. We are going to save our session to a text file so we can review all the data later.
- Type: O Press Enter. (letter O for Orange). You will be asked for a file name.
- Type: Session1.txt Press Enter. Or some other filename. Everything you see on the screen as you operate nodeutil is saved to this file for you later review.
- Type: 1 (digit 1) Press Enter.
To start the discovery.
Allow it to run to completion. It could take 10-30 mins.
Hopefully it discovers some nodes. If it does not then call Chipkin and we will ask some diagnostic questions.
If it does discover any nodes then we want to get more information about each one.
First we capture a list of them. - Type: L Press Enter.
For a list.
It gives you a list of devices it has discovered.
Each device has an index number 1,2,3 … - From the Meny Type: G Press Enter.
This takes you to the device menu. You type the index of the device.
You will start with device [1].
If there are more than one device then we will be repeating the steps below for each device.
Label1
- Type:D
Push Enter
when you are prompted for a device number – to select all
Note the Domain – Subnet and NodeID of the device. - Type:X
Push Enter
To create a device interface file. You will be asked for a file name. Name the file systematically so we can identify it later. This is not as easy as it seems.
Name the file s1d1.txt - Type:E
Push Enter
To exit back to the main menu
When that is done we need to repeat for the next device - Type:G
Push Enter
You are shown the list again and asked for the device index.
Type the next device index [2] and carry on until you have finished all the devices by returning to the step marked Label1 above. - Finally push E until the nodeutil session ends.
If we are supporting you, send all the txt files to us. We recommend that you do this before you leave site so we can do a quick check that you have gathered relevant information.
DNP3 (Distributed Network Protocol) is a non-proprietary industrial protocol designed to transmit data from point A to point B by using serial or IP communications. It has been mostly used by water and wastewater industry, oil and gas industry, mining, irrigation, transportation and is very well suited for SCADA (Supervisory Control and Data Acquisition) and smart grid applications. It has been designed to optimize the transmission of data acquisition information and control command from between a control station and a slave device on the field. The term 'slave' or 'outstation' is used to describe remote equipment found in the field and the term 'master' is used to describe the control station endpoint. Even of the protocol can operate over a serial link, most equipment are using it over Ethernet where data frames are embedded into TCP/IP packets.